Subaru Outback (BR): Scalp Cap
A: REPLACEMENT
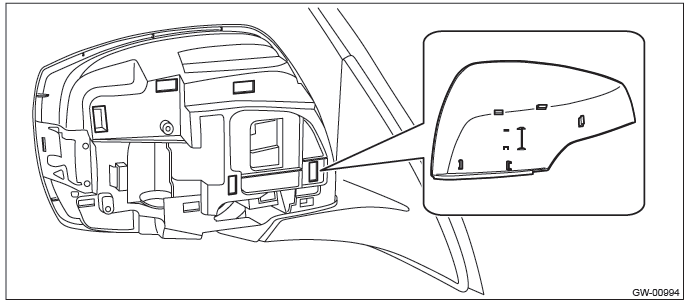
1. MODEL WITHOUT ELECTRIC RETRACTABLE MIRROR
CAUTION:
- When removing the mirror, be careful not to damage the back surface of mirror with a flat tip screwdriver.
- When installing the mirror, insert the connector and clip securely.
1) Operate the remote control mirror switch to face the mirror surface upward.
2) Disconnect the ground cable from battery.
3) Remove the outer mirror.
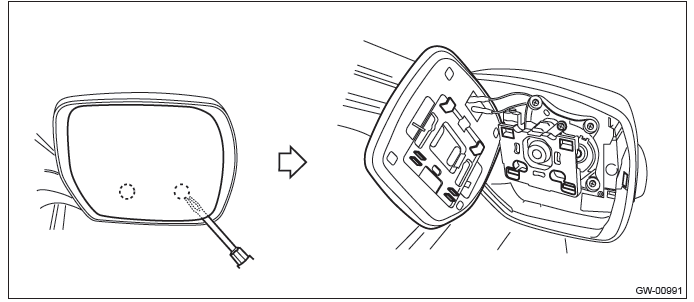
- Disconnect the clips using a flat tip screwdriver.
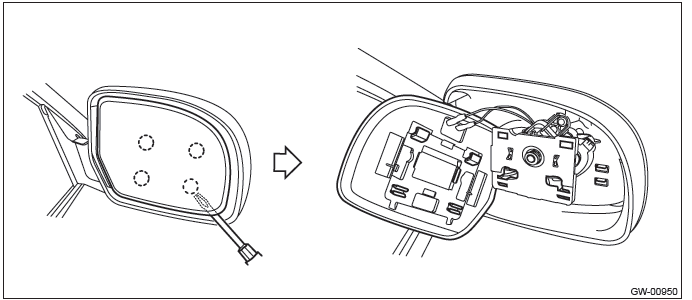
- Disconnect the mirror heater connector. (Model with mirror heater)
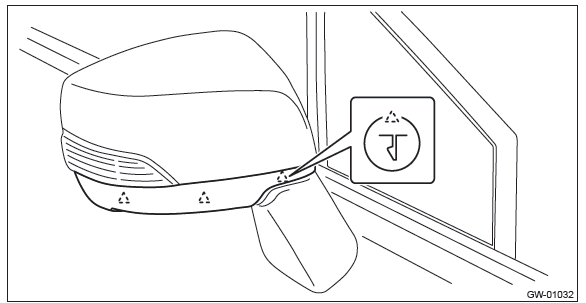
4) Disconnect the claws and then remove the scalp cap.
CAUTION: Be careful not to apply excessive force when removing the scalp cap, as the lower hooks may become damaged.
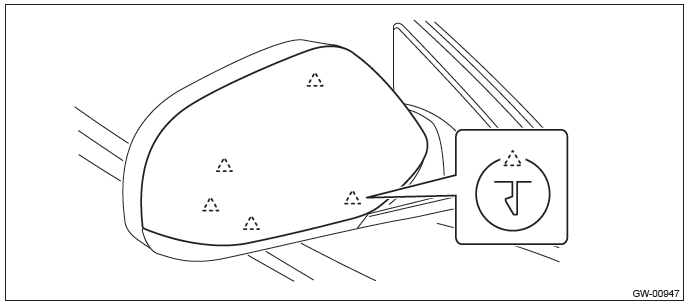
5) Engage the claws into the hole and install the scalp cap.
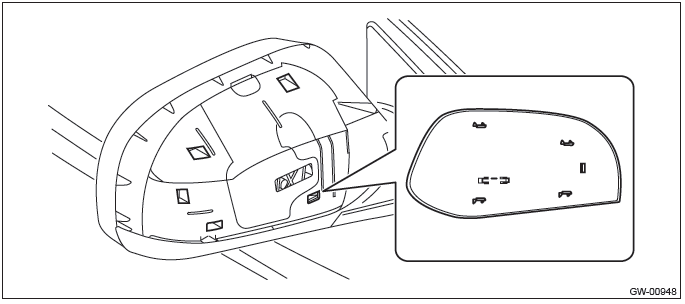
6) Check that all the claws are securely engaged.
2. MODEL WITH ELECTRIC RETRACTABLE MIRROR
CAUTION:
- When removing the mirror, be careful not to damage the back surface of mirror with a flat tip screwdriver.
- When installing the mirror, insert the connector and clip securely.
1) Operate the remote control mirror switch to face the mirror surface upward.
2) Disconnect the ground cable from battery.
3) Remove the outer mirror.
- Using a flat tip screwdriver, release the clips then remove the outer mirror by sliding downward.
- Disconnect the mirror heater connector. (Model with mirror heater)
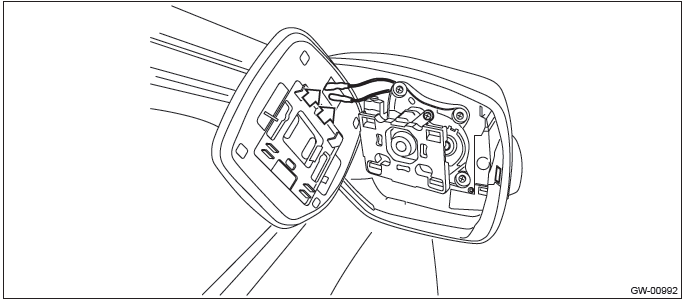
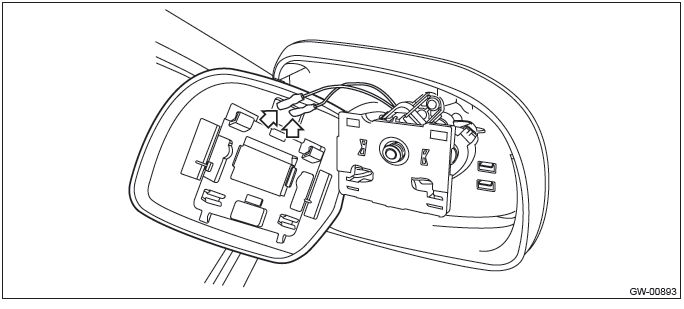
4) Disconnect the claws and then remove the outer mirror lower cover.
5) Disconnect the claws and then remove the scalp cap.
CAUTION: Be careful not to apply excessive force when removing the scalp cap, as the lower hooks may become damaged.
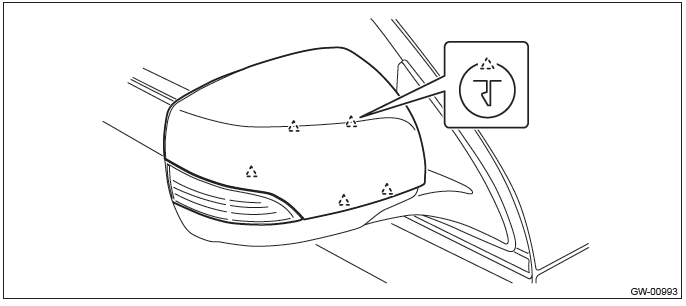
6) Engage the claws into the hole and install the scalp cap.
7) Engage the claws into the hole and install the outer mirror lower cover.
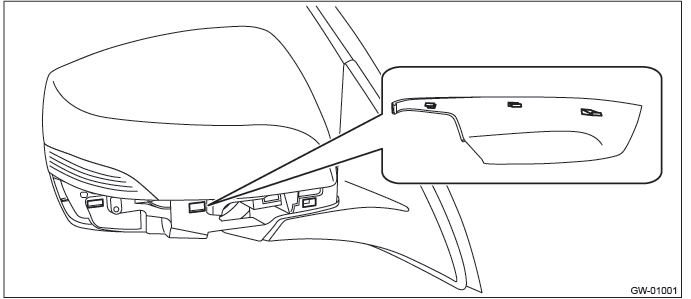
8) Check that all the claws are securely engaged.
9) Install the outer mirror in the reverse order of removal.
READ NEXT:
 Outer Mirror Assembly
A: REMOVAL
1) Remove the front door trim. <Ref. to EI-60, FRONT DOOR, REMOVAL, Door
Trim.>
2) Remove the outer mirror assembly.
Disconnect the connector.
Remove the bolts to remove outer mi
Rear Door Glass
A: REMOVAL
1) Remove the rear door trim. <Ref. to EI-61, REAR DOOR, REMOVAL, Door Trim.>
2) Remove the sealing cover.
CAUTION:
Carefully remove the butyl tape. Excessive force will easily bre
Windshield Glass
A: REMOVAL
1. USING WINDSHIELD GLASS KNIFE
1) Disconnect the ground cable from battery. (Models with wiper deicer)
2) Remove the front pillar trim. <Ref. to EI-102, REMOVAL, Upper Inner Trim.>
SEE MORE:
Oil Pressure Switch
A: REMOVAL
1) Disconnect the ground cable from battery.
2) Remove the generator. <Ref. to SC(H4SO)-18,
REMOVAL, Generator.>
3) Disconnect the terminal from oil pressure switch.
4) Remove the oil pressure switch.
B: INSTALLATION
1) Apply liquid gasket to the oil pressure switch
threads.
Li
Top tether anchorages
Your vehicle is equipped with three top tether anchorages so that a child restraint
system having a top tether can be installed in the rear seat. When installing a
child restraint system using top tether, proceed as follows, while observing the
instructions by the child restraint system manufa
