Subaru Outback (BR): Front Grille
A: REMOVAL
1) Remove the front bumper face assembly.
- Remove the clips, turn over the front mud guard, and disconnect the fog light connector. (Model with fog light)
- Remove the clips at the upper side of the bumper.
- Remove the clips from the fender.
- Remove the clips at the lower side of bumper.
- Detach the flange section on the bumper face side from the bracket side front UPR.
CAUTION: Do not pull forcibly. It may damage the flange sections of the bumper face.
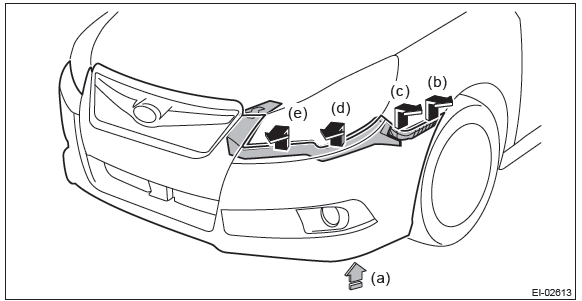
NOTE: Pushing up the lower side (a) of the fog light, remove from (b) to (e).
Detach the opposite side in the same manner.
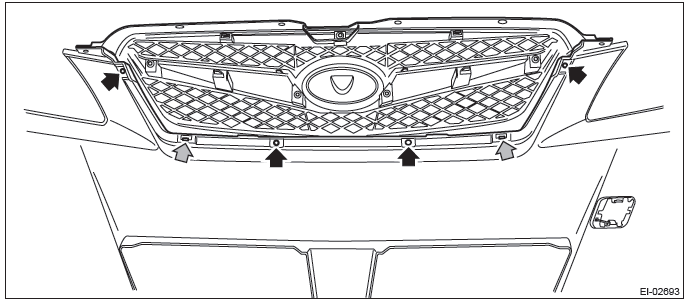
2) Remove the front grille assembly.
- Remove the screws from the back side of bumper face.
- Release the claws, and remove the front grille assembly.
B: INSTALLATION
CAUTION: Install the bumper face so that the under cover front end (b) comes inside the front bumper face (a).
1) Install each part in the reverse order of removal.
2) Adjust the fog light beam. (Model with fog light) <Ref. to LI-41, FOG LIGHT AIMING, ADJUSTMENT, Front Fog Light Assembly.>
Front Hood Grille
A: REMOVAL
1) Open the front hood.
2) Remove the hood duct assembly.
- Remove the screws.
- Remove the clips and remove the hood duct assembly.
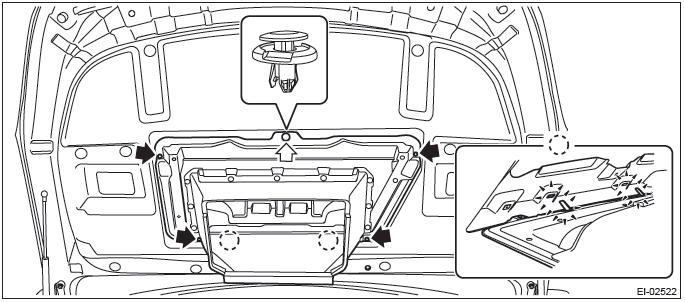
3) Release the clips to remove the front hood insulator.
CAUTION: Do not reuse any clips damaged during removal. The damaged clip cannot fix the insulator securely.
Therefore, always replace with a new part.
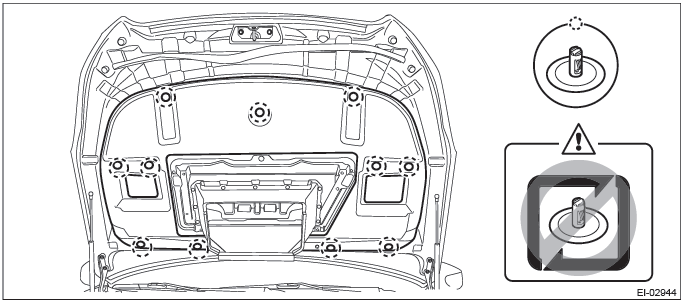
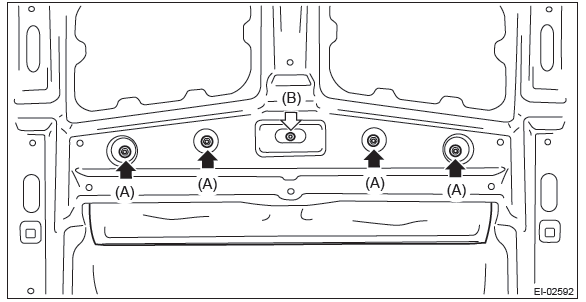
4) Remove the front hood grille.
- Remove the nuts (A).
- Remove clip (B), and remove the front hood grille.
B: INSTALLATION
Install each part in the reverse order of removal.
Tightening torque: Refer to "COMPONENT" of "General Description". <Ref. to EI-4, FRONT HOOD GRILLE, COMPONENT, General Description.>
NOTE: Make sure that the front hood duct claws are inserted in the holes on the front hood.

READ NEXT:
 Cowl Panel
A: REMOVAL
1) Open the front hood.
2) Remove the front wiper arm assembly.
CAUTION:
Follow the steps below when standing up the wiper arm. Not following the steps
may cause contacting
of wiper arms
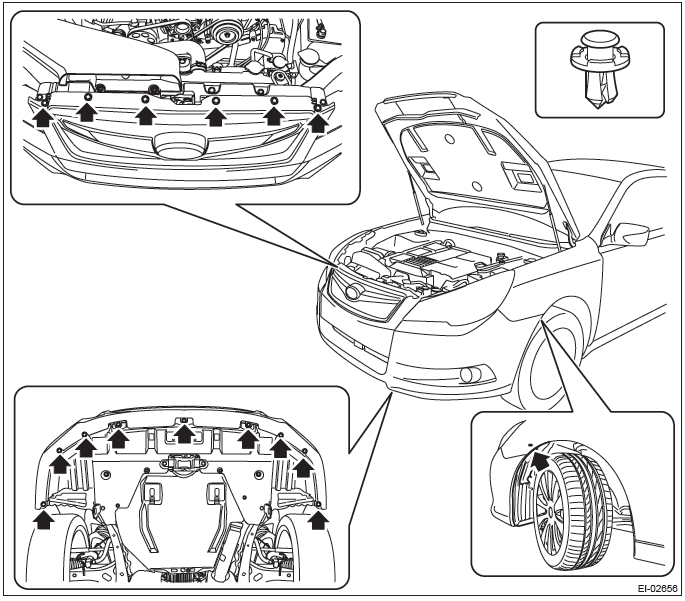
Front Bumper
A: REMOVAL
1) Disconnect the ground cable from battery.
2) Remove the front bumper face assembly.
Remove the clips, turn over the front mud guard, and disconnect the fog
light connector. (Model w
Rear Bumper
A: REMOVAL
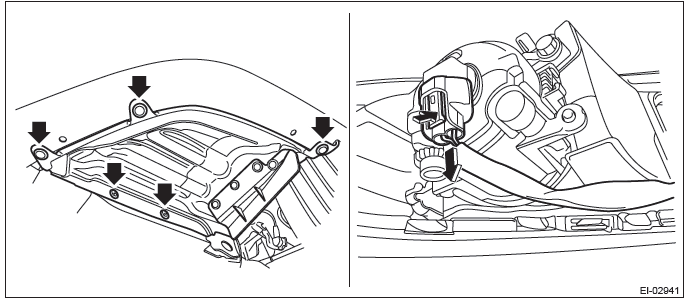
1) Remove the rear combination light assembly.
Sedan model
1. Remove the trunk room trim. <Ref. to EI-127, REMOVAL, Trunk Room Trim.>
2. Disconnect the connector.
3. Release the
SEE MORE:
Clutch Switch
A: REMOVAL
1) Disconnect the ground cable from battery.
2) Remove the instrument panel lower cover. <Ref.
to EI-64, REMOVAL, Instrument Panel Lower Cover.>
3) Disconnect the connector from clutch switch.
4) Remove the clutch switches.
B: INSTALLATION
1. CLUTCH SWITCH
1) Move the clevis pin
Maximum allowable speeds
WARNING
When shifting down a gear, ensure that the vehicle is not travelling at a speed
exceeding the Maximum Allowable Speed for the gear which is about to be selected.
Failure to observe this precaution can lead to engine over-revving and this in turn
can result in engine damage.
In additi
